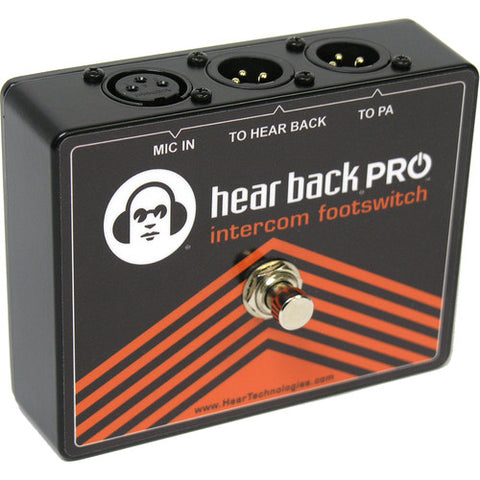
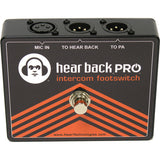
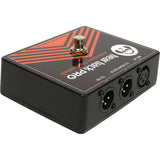
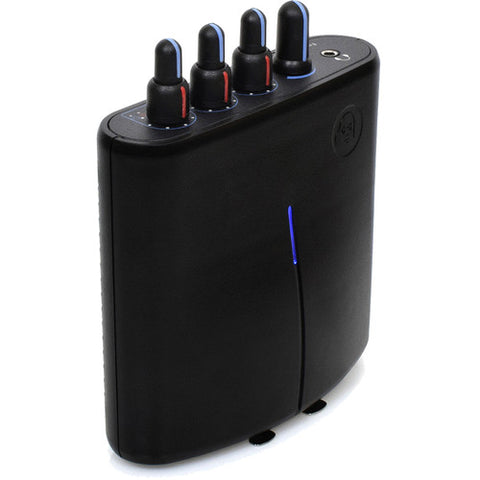
Hear Technology PROFTSW PRO Intercom Footswitch
The Hear Technology PROFTSW Hear Back PRO Intercom Footswitch is professionally designed allowing one microphone to serve a dual role as both a vocal microphone and as an intercom microphone intended for having a discrete communication along with other band members or the sound engineer.
The Intercom Footswitch comes featuring a silent mute design; it is muting the microphone signal going to the sound board without having any pops or clicks. The microphone signal is then routed to the Hear Back PRO Mixer along with a special 22kHz signal that is capable to automatically engage the intercom feature on the Mixer (firmware v1.3 or higher). The 22kHz signal is above the human hearing range but not only that, it is also at a very low level - just enough for the Hear Back PRO Mixer to detect.
The switch is momentary, so as long as you hold your foot on the switch, the microphone will route to the intercom instead of the sound board. All outputs are transformer isolated from the microphone and each other. A special phantom-power circuit is made for allowing the microphone to be powered from the sound board (if the microphone requires phantom power).
You are also capable to use the footswitch in any application where an A/B momentary footswitch is needed.
Checking the Mixer's Firmware Version
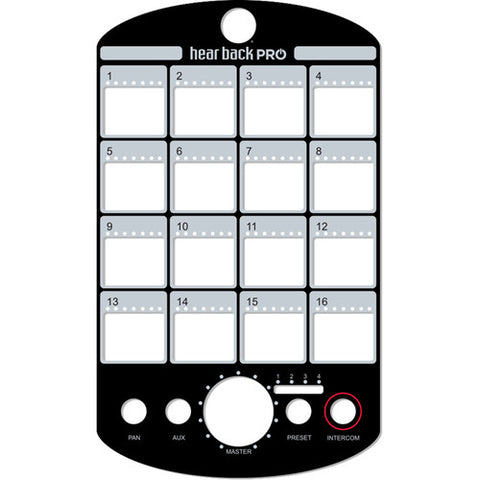
In order for the Intercom Footswitch to work along with a Hear Back PRO Mixer, the Mixer must have at least Version 1.3 firmware or greater. To check the version of firmware installed on your Mixer, start with the Mixer network cable unplugged. While pressing the "PRESET" button, plug in the network cable and continue to press the PRESET button until the LEDs illuminate. Release the PRESET button.
The illuminated LEDs indicate the firmware version. The LED on the "Master" volume knob that is lit indicates the whole number part of the firmware version. Next, the channel with all its LEDs lit indicates the decimal part of the firmware version.
If your mixer has version 1.1 or version 1.2, you will need to follow the directions below for updating the firmware. If your mixer has version 1.3 or greater, you can skip the following steps for upgrading the firmware - instead follow the directions on enabling the intercom footswitch feature.
Upgrading the Mixer's Firmware
To upgrade your Mixer's firmware, locate the Firmware Update Card that is included with your Intercom Footswitch.
To upgrade your Mixer's firmware:
- Unplug the network cable so the Mixer is powered down.
- Turn the Mixer upside down and remove the two screws that secure the expansion card cover as shown (set aside the two screws and expansion card cover).
- Insert the Hear Back PRO Mixer Firmware Update Card into the expansion slot as shown. Notice the "UP" printed on one side of the card. This should be facing the same direction as the top of the mixer.
- After the card is inserted, connect a network cable from the Mixer to either a Hear Back PRO Hub or Mixer Distro that is powered on. The Mixer should power on and begin the update process (this takes a couple of minutes to complete).
- As the firmware updates, the LEDs will illuminate greenone-by-one to indicate the progress of programming the new firmware into the Mixer's memory. Next, the LEDs around the master knob will illuminate purple one-by-one to indicate the progress of upgrading the user interface - the final step in the process.
- Once all of the master LEDs are illuminated purple, wait 30 seconds. It will reboot once it is finished. After it reboots, you are now ready to enable the Intercom Footswitch feature, which is discussed in the next section.
PRO Intercom Footswitch User GuideEnabling the Intercom Footswitch Feature on the Hear Back PRO Mixer
For the Hear Back PRO Mixer to support the Intercom Footswitch feature, it must have firmware version 1.3 or greater.
To enable the Intercom Footswitch feature on your Mixer:
- Unplug the Mixer network cable.
- While pressing the "INTERCOM" button, plug in the network cable and continue to press the button until the PAN, AUX, and INTERCOM LEDs begin to flash. Release the intercom button.
- Press the "AUX" button until it is illuminated. This indicates that the Intercom Footswitch feature is now enabled.
- If the AUX button does not illuminate, make sure that the INTERCOM button is illuminated. If it is not, press the INTERCOM button until it is illuminated (this indicates that the INTERCOM function is enabled), then press the AUX button until it is also illuminated. To save this setting to memory, push and hold the INTERCOM button until the Mixer reboots. Note that the INTERCOM button LED may turn off when you push to hold; this is normal as long as you continue to hold until the mixer reboots
If you ever wish to disable the Intercom Footswitch feature, you can follow this same process. Make sure that the AUX button LED is OFF instead of ON. This will disable the feature.
Using the Intercom Footswitch with yourHear Back PRO Mixer
Note that once you enable the Intercom Footswitch feature, the AUX input becomes a dedicated Intercom Footswitch input. This is because the Mixer must monitor the incoming signal to detect when the footswitch is pressed. Pressing the AUX button will change the MASTER knob's LEDs so that they are red, and the knob will control the input gain of the footswitch.
Note that if you set the input gain too low, your microphone may not be sensitive enough (people may have a hard time hearing you). If you set the input gain too high, your intercom may continually broadcast because there is too much noise and it is triggering the intercom circuitry. If you see your intercom LED ON when you are not pressing the footswitch, try turning down the gain a little. A good place to start is to set the gain at about 65%. Typically anything above 85% is too high.
Features
- (1) female XLR input for the microphone and (2) male XLR outputs for allow you to connect to the PA system (or studio console) and a Hear Back PRO Mixer
- All outputs are transformer isolated
- PA connection passes phantom power to the microphone input with a bypass diode to power up condenser mics
- Does not require any external power or battery
 USD
USD EUR
EUR
 AUD
AUD
 GBP
GBP
 JPY
JPY